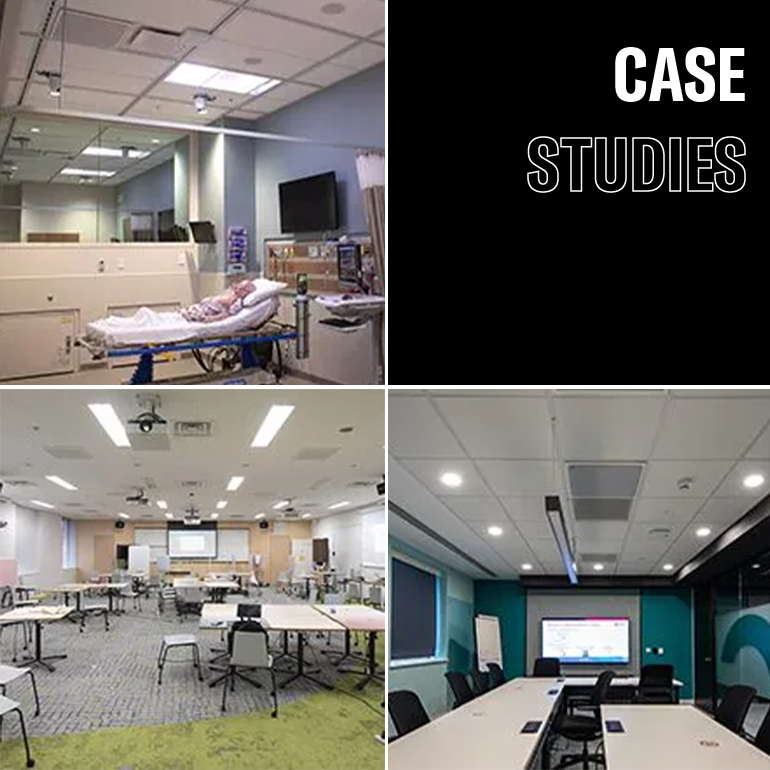
Start Guide - Yamaha Unified Communications Configurator

Start guide

1.1 Select "Country."

Select the country you live in from the candidates displayed and click "Confirm."

1.2 Select "Issue."

Select the issue you want to resolve and click "Next."
To check the details of each issue, click the "?" beside the issue. An explanation will pop up. Click the same "?" again to close the explanation.
You can select multiple issues.
When multiple issues are selected, solutions that can resolve all of the issues selected are shown in STEP 2. When there are no solutions displayed in STEP 2 or only a few solutions are displayed, reduce the number of issues selected on this screen.

1.3 Select "Estimated number of people."

Select the estimated number of people who will use the conference room and then click "Next." Yamaha will recommend a standard room size appropriate to the number of people selected.

1.4 Select "Budget."

Select the desired budget range and click "Next." Select a budget value for the equipment only, not including setup and installation costs.
In STEP 2, the solutions within the budget range selected here will be given priority in the display.

Solutions appropriate to the content selected in STEP 1 are displayed. Select a solution appropriate to your issue, and click "Select."

  1. ①You can view additional information on the products you have selected.
  2. ②When there are multiple solutions available you can switch the display to another solution.
    When using a touch screen, you can also swipe in the solution display area to switch between displays.
  3. ③You can copy the URL to access this screen directly.
  4. ④Click "Select," select a solution from those displayed, and move to STEP 3.

If necessary, enter a title and notes for the selected solution, and click "Set." You can enter up to 70 characters in the title, and 1,000 characters in the notes.

*A permanent URL is a unique URL issued for each solution you select.
A permanent URL based on the content of your actions thus far is issued.

  1. ①Click this URL to start your e-mail software and create a new e-mail with this permanent e-mail listed in it.
  2. ②Click to open a menu from which you can select Twitter, LinkedIn, or Facebook. Click the icon of the service you wish to post to in order to post a permanent URL.
  3. ③Click to move to the inquiry screen.
  4. ④You can copy the permanent URL to access this screen directly.